Indice
First Installation of RosettaCNC
Below are the initial steps to establish a first connection with the RosettaCNC board.
THE SOFTWARE
Download and install the latest version of RosettaCNC Software from the Download section of the website.
CONNECTING TO THE BOARD
To connect to the board, there are two options:
- Direct connection via Ethernet to the board
- Connection of the board to the Company/Home Network
Method 1: Direct Connection to the Board

- Connect an Ethernet cable between the PC and the RosettaCNC board.
- Disable unused network adapters and leave only the one used for the Ethernet connection enabled (Optional but recommended):
- Open the Windows
Control Panel. - Click on
Network and Sharing Center, thenChange adapter settings. - In this panel, right-click on the unused adapters and select
Disable. - Note that this operation is not strictly necessary but helps prevent potential IP address conflicts.
- Open the Windows
Control Panelagain, click onNetwork and Sharing Center, thenChange adapter settings. Right-click on the network adapter used for the RosettaCNC connection, selectProperties, then chooseInternet Protocol Version 4 (TCP/IPv4), and clickProperties.
A window will open where you need to set an IP address for the PC’s network adapter to 192.168.0.x, where x is a number between 2 and 252. In the following example, 22 has been chosen.


Congratulations! You have successfully set up the connection with the board. You can proceed to the next chapter, ROSETTACNC SOFTWARE.
Method 2: Connecting the Board to the Company/Home Network
- Connect an Ethernet cable between the RosettaCNC board and an Ethernet port on your network (modem, switch, etc.).
- Start the RosettaCNC Software.
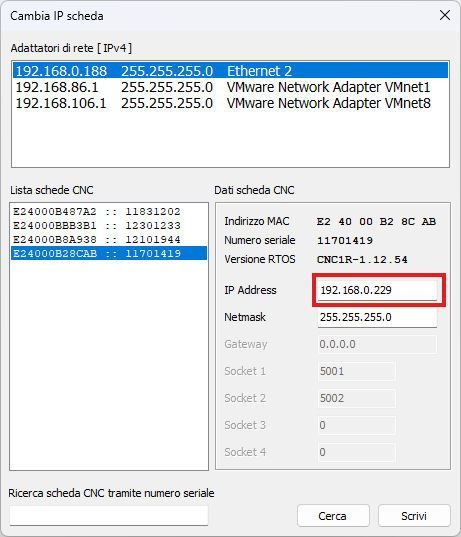
- Go to
Settings, thenChange Board IP. Select the network adapter you are connected to, then clickSearch,Confirm, and find the IP address assigned to the RosettaCNC board.

Congratulations! You have successfully set up the connection with the board. You can proceed to the next chapter, ROSETTACNC SOFTWARE.
ROSETTACNC SOFTWARE
Now that you have found the IP of the RosettaCNC board, you can proceed with the first connection.
- Start the RosettaCNC Software.
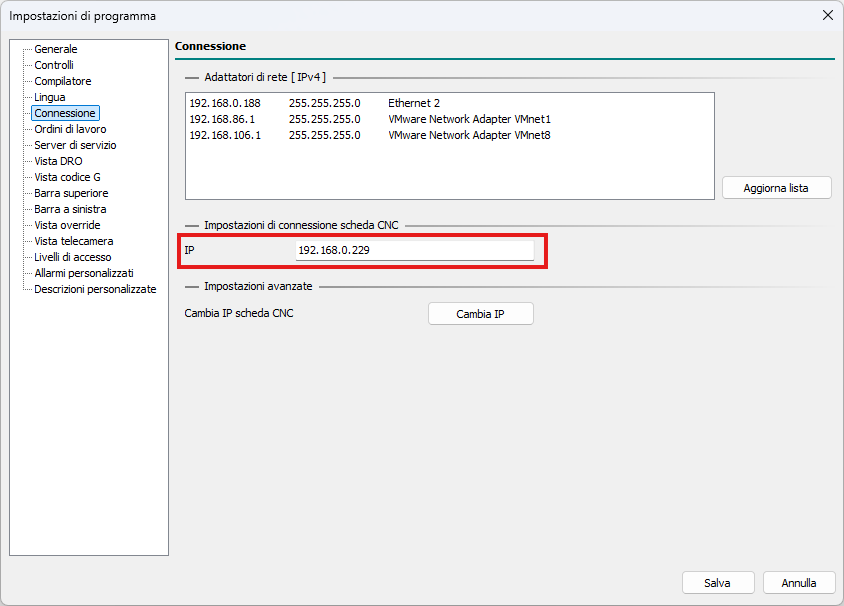
- Go to
Settings, thenProgram Settings. In theConnectionsection, enter the board’s IP, then clickSave.- 192.168.0.253 if you followed Method 1.
- The IP you found if you followed Method 2.

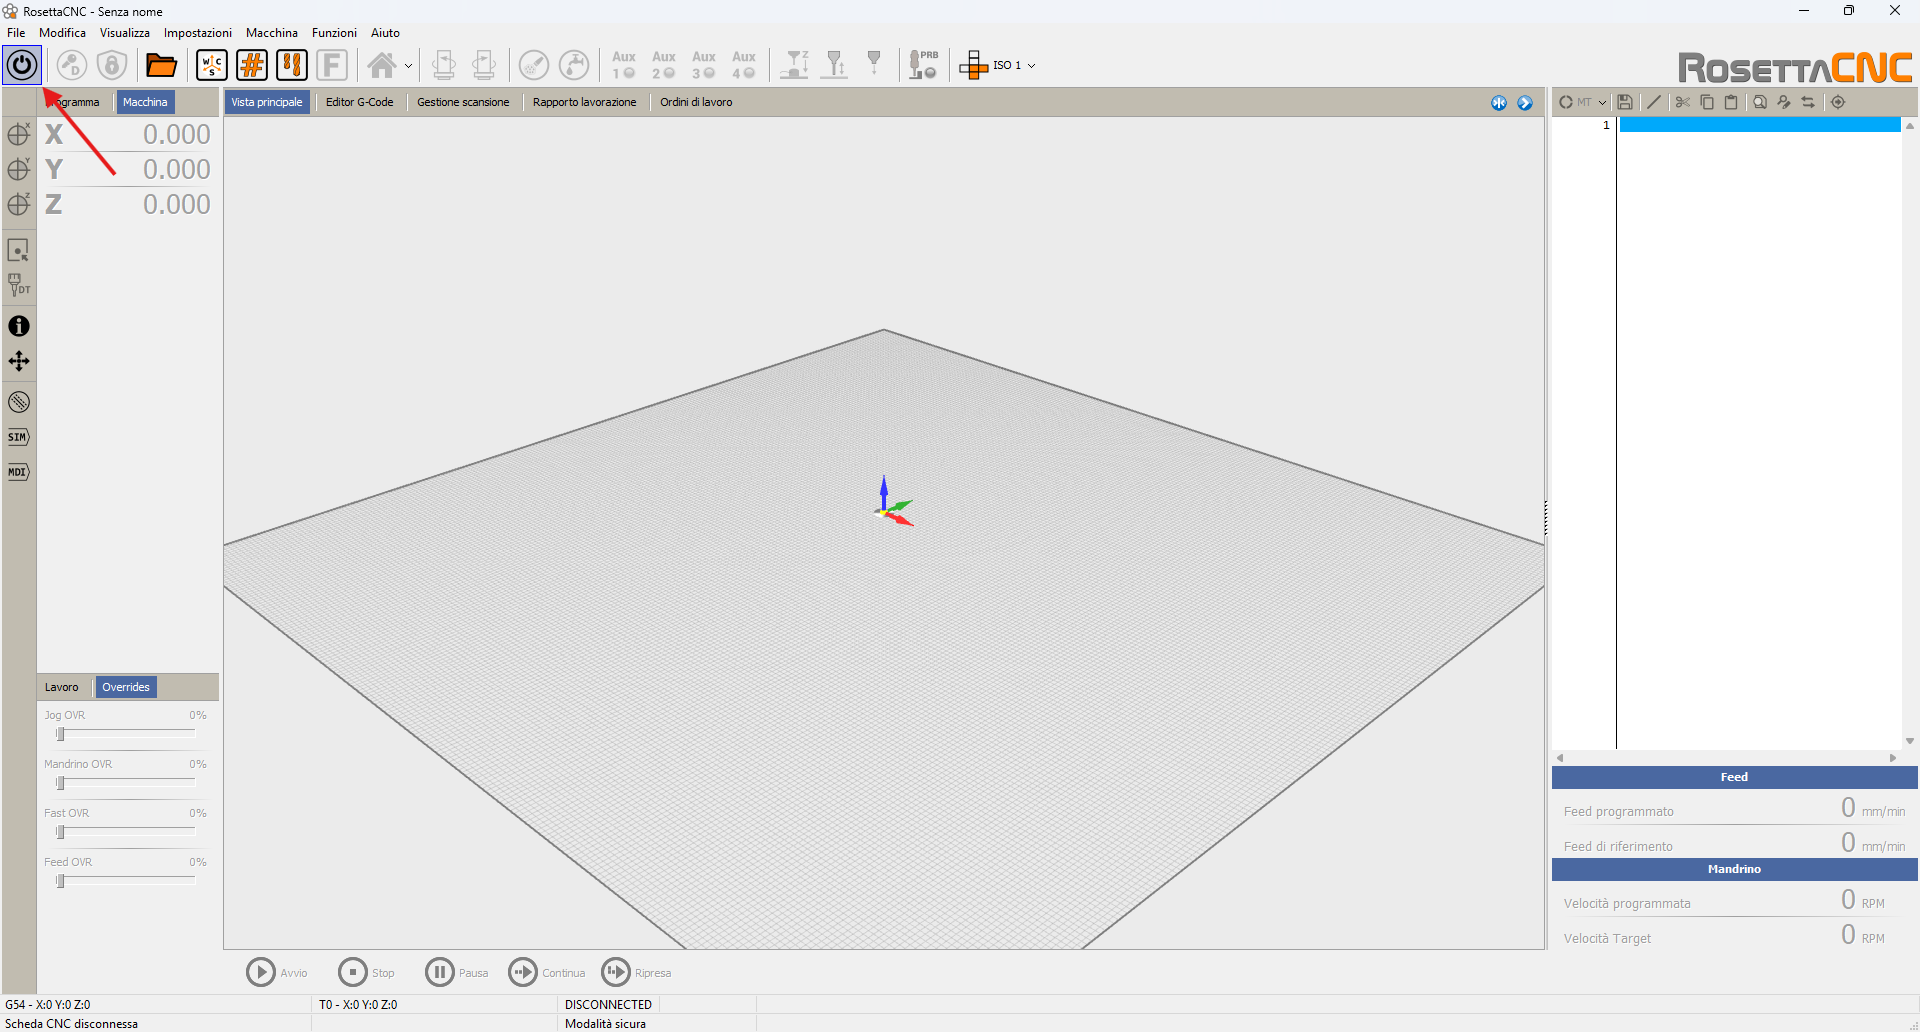
- Then return to the homepage and click on the connection logo in the top left.

- During the first connection, a dialog window may appear with the message
Setting data not aligned.- Click
Loadto copy the board's data to the PC. - Click
Downloadto copy the PC’s data to the board.

- Once successfully connected to the board, a message will appear:
Connected to CNC board.


Congratulations! You have successfully set up the RosettaCNC Software and the connection with the board. You can now USE THE BOARD!
ROSETTACNC FIRMWARE UPDATE
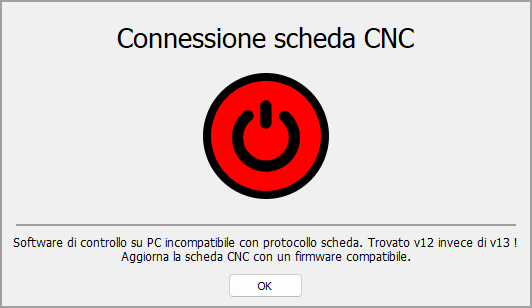
During the connection, the message PC control software incompatible with board protocol may appear.
In this case, a Firmware Update of the RosettaCNC Board is required.
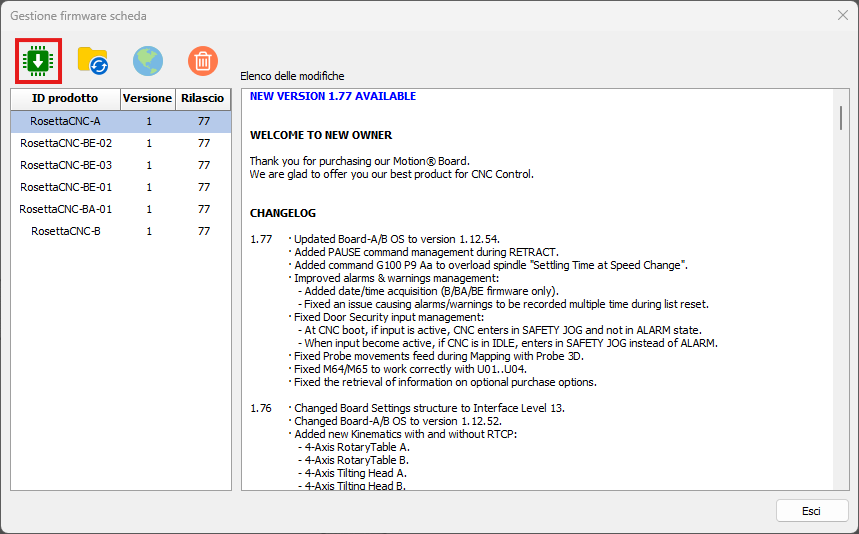
- Click on
Settings, thenBoard Firmware Management, and select the type of board you have from the list. - Click on the
Green Chipicon in the top left and wait for the board update to complete.

- Once updated, you can connect.